Showing posts with label jewelry expressions by anita. Show all posts

Tuesday, October 23, 2012

METALSMITHING PROJECTS ON MY OWN!

It's been a good while since I  posted on my  blog!!  I have been keeping busy and trying some new things based on the classes I took at the Appalachian Rock Shop.  Sooner or later, when we learn something new, we have to go it alone!!  I am posting pictures of some things I created after finishing up my summer classes.  One of the items, a beautiful labrodorite cabochon that I put into a sterling silver pendant, sold within days of posting it on Facebook.  I was so excited that I managed to create it without any major issues and more excited that someone loved it as much as I did.


Most recently, I have been working on Lotus Pendants.  A client requested a jewelry item that was meditation related and I did some searches, coming up the lotus flower and of course, crystals.  So I went to work, sawing, sanding, polishing, wire wrapping, soldering, and breaking lots of saw blades along the way.  I used copper and sterling - plain, hammered, layered - and these are the pendants I ended up with.  Hope you like them.  I have a show this weekend, but hope to get them listed on Artfire next week.


Saturday, March 3, 2012

Creations in Sterling Silver

It's been a while since I have posted, but I HAVE been creating and doing more in sterling silver. I was always a little apprehensive to use my sterling silver wire because I was worried I'd waste it, but with the addition of the metalsmithing classes, my confidence has grown. Fortunately, not too much wire has been wasted and I have found ways to use the bits and pieces. Time is a great teacher in all things! I thought I would post the pictures of some of my recent designs in silver. I have been using a lot of Argentium s.s. - it is tarnish resistant and has beautiful shine. And, you can use Argentium for fusing! A big plus if you don't want to mess with solder. I have been very happy with the results and am still learning to use this wire. But if you like and want to add patina for a more antiqued look, then stick with sterling silver wire. Most, if not all, of the pictured items are listed on my Artfire site. Please let me know if you have any questions. Thanks for following! Have a wonderful 2012! Anita


Friday, October 28, 2011

Week Six/Seven - Metalsmithing

I lost a week of class due to illness, but was back yesterday to continue working on my layered copper and silver ring.  I was able to make up some of the lost time yesterday and got quite a bit accomplished.  Previously, I had cut out the design in the copper layer of my band ring and had done some of the filing and smoothing at home.  Yesterday I continued that process.   The ring was wider than I wanted, so I sawed both pieces to the desired width and continued filing and sanding the edges.  The pieces were placed in the pickle and scrubbed with soap and water with a brush.  After a coating of flux, the solder was placed on the back of the copper  piece and the first step of the sweat soldering was completed.  Back to the pickle and cleaning.  The pieces were fluxed and fit together on the fire brick.  We put some antiflux on the T-pins so the piece could be pinned/secured to the firebrick.  The antiflux was to prevent the pins from being soldered to the ring during the firing  process.  The solder flowed and the piece was quenched in water and put  back into the pickle for cleaning.  After cleaning, we were back to the filing and sanding process.  Each end of the ring needed to be filed straight for a flush fit in the next step.  I sanded the piece with various grits to clean off the scratches and excess solder.  Flux was added to the piece and it was fired to anneal the band for the next step!  Week seven will hopefully complete the ring!  I can't wait.  Hope it fits!  Our last project will be a bezel set ring!

Thursday, September 29, 2011

Metalsmithing - Week 4

As you know from my previous posts, I am taking my metalsmithing class at the Appalachian Rock Shop in Harmony, PA.  Well, before I go any further, you must check out their new web site!  It's beautiful!  There is something for everyone:  the mineral and fossil collector, casual and/or metalphysical rock enthusiast, jewelry collector, artist, children and educators! Click on the shop's name above and have a visit!
Back  to my classes.  Today we continued working on the bail for my pendant.  I decided to add some texture to the bail so I took a ballpeen hammer and added some ball-like indentations.  Of course, this hardened the metal, so, once again, we had to go through the annealing process. We then continued the process of shaping the bail so that it would fit snugly onto the pendant - pinch, squeeze, hammer - it's a process! After fluxing the entire piece, front and back, it was secured to the firing block. In this step, we used medium solder and small pieces were placed around and within the bail and it was fired, quenched and placed in the pickle for cleaning. Now for the hard stuff - the sanding begins. I went to the bench pin and began this process. Whoops - a little error here - not realizing, I turned the piece over to do some sanding on the back side without protecting what I did on the front - nothing major, but in doing this, the front got scratched from the bench pin that I was using to stablize the metal while I worked. Before turning it, I should have protected what was already done by covering it with masking tape! That was today's biggest lesson for me!! By this time, three hours had gone by and it was time to shut down for some festivities! The shop celebrated three birthdays today and we had pot luck - cheese, crackers, chicken croissants, jambalya, ambrosia fruit salad, cake, cheese cake, cookies, artichoke dip - these gals KNOW HOW TO PARTY! It was great fun.


Thanks for stopping by to see the posts. No class for two weeks, so I'll post more then. This piece is still in the sanding/polishing process, so hopefully, the next photo you see will be one of a completed pendant!!

Monday, September 19, 2011

Vintage Crystals - Re-Created!

I did a home show about a year ago and one of the guests brought me these beautiful vintage crystal beads. She had been saving them for her daughter's wedding, but the daughter was not interested in crystal. They are approximately 10mm and pick up all the colors of the rainbow. I made bracelets, earrings, and a necklace, all in gold tones. The wire connections are hand made from jeweler's bronze. I still have enough beads left to do more in silver accents...sterling would be beautiful! For now, here is the crystal and bronze. Blessings to all! Anita


Sunday, July 31, 2011

Copper and Silver Love Bracelet


I watched a performance of "Stand Up" by Sugarland recently and during the performance saw banners with "Love" spelled out with the o as a peace sign. I thought it would make a great piece of jewelry. And so began my journey in metal work. I've done a few small things in metal, but this was a challenge to me - especially my limited soldering skills. Two of the pieces were done 3-4 times before I finally got it right...my solders were not taking on the peace sign or the "L". I think the crux of the problem was that these two pieces were not fitting properly to the copper before firing. I persevered and used a leather hammer to get the fit as close as possible at diffent points. Finally, sweet success. If you are considering metal work/soldering, be patient, read up on the technique you plan to use or take a class and learn from someone more experienced. Most importantly, don't be deterred. Just do it. For your enjoyment, I am also adding the link to see Sugarland perform "Stand Up"! You'll see one of those "love" banners at the end.

Wednesday, July 20, 2011

Chainmaille Bracelet in Rose Gold


Like the Byzantine I posted earler, this chainmaille bracelet was also created with Rose Gold Parawire. Again, Parawire is permanently colored copper wire. Being made with 18 gauge wire and smaller jump rings, this is great for the lady who prefers a more delicate look in her jewelry. It has a hook closure with extra links for sizing. I personally love the look of this chain. Thanks for looking and please feel free to leave your comments, It helps to know what people like or don't like. Blessings, Anita
Posted by Picasa

Byzantine Bracelet in Rose Gold


Created today, a Byzantine link bracelet done in Rose Gold Parawire. CBC Metal/Parawire has a whole line of permanently colored copper wire in many gauges and colors to pick from. You can let your imagination flow with ideas to incorporate their wire into your designs. With the cost of silver skyrocketing, Parawire offers a cost effective way for you to create. There are other alternatives in colored wire and this is one of many.

I love the Byzantine link and this one is for the individual who wants a heavier bracelet. It is made with 16 gauge wire. Not sure if men would wear this particular color or not, but definitely great for woman! Thanks for looking. Blessings, Anita
Posted by Picasa

Wednesday, June 22, 2011

More Viking Knit!


I decided on a necklace for this weave and went for an asymmetrical look, using hand made lampwork by Jeanne and fancy copper beads. The chain was also hand crafted with a lobster claw closure. Patina was added; the necklace was tumbled and voila! Hope you like it! I am still in the beginning stages of discovering the versitility of the viking knit weave. Creating jewelry is always an adventure!

Monday, February 28, 2011

PRETTY KITTY!

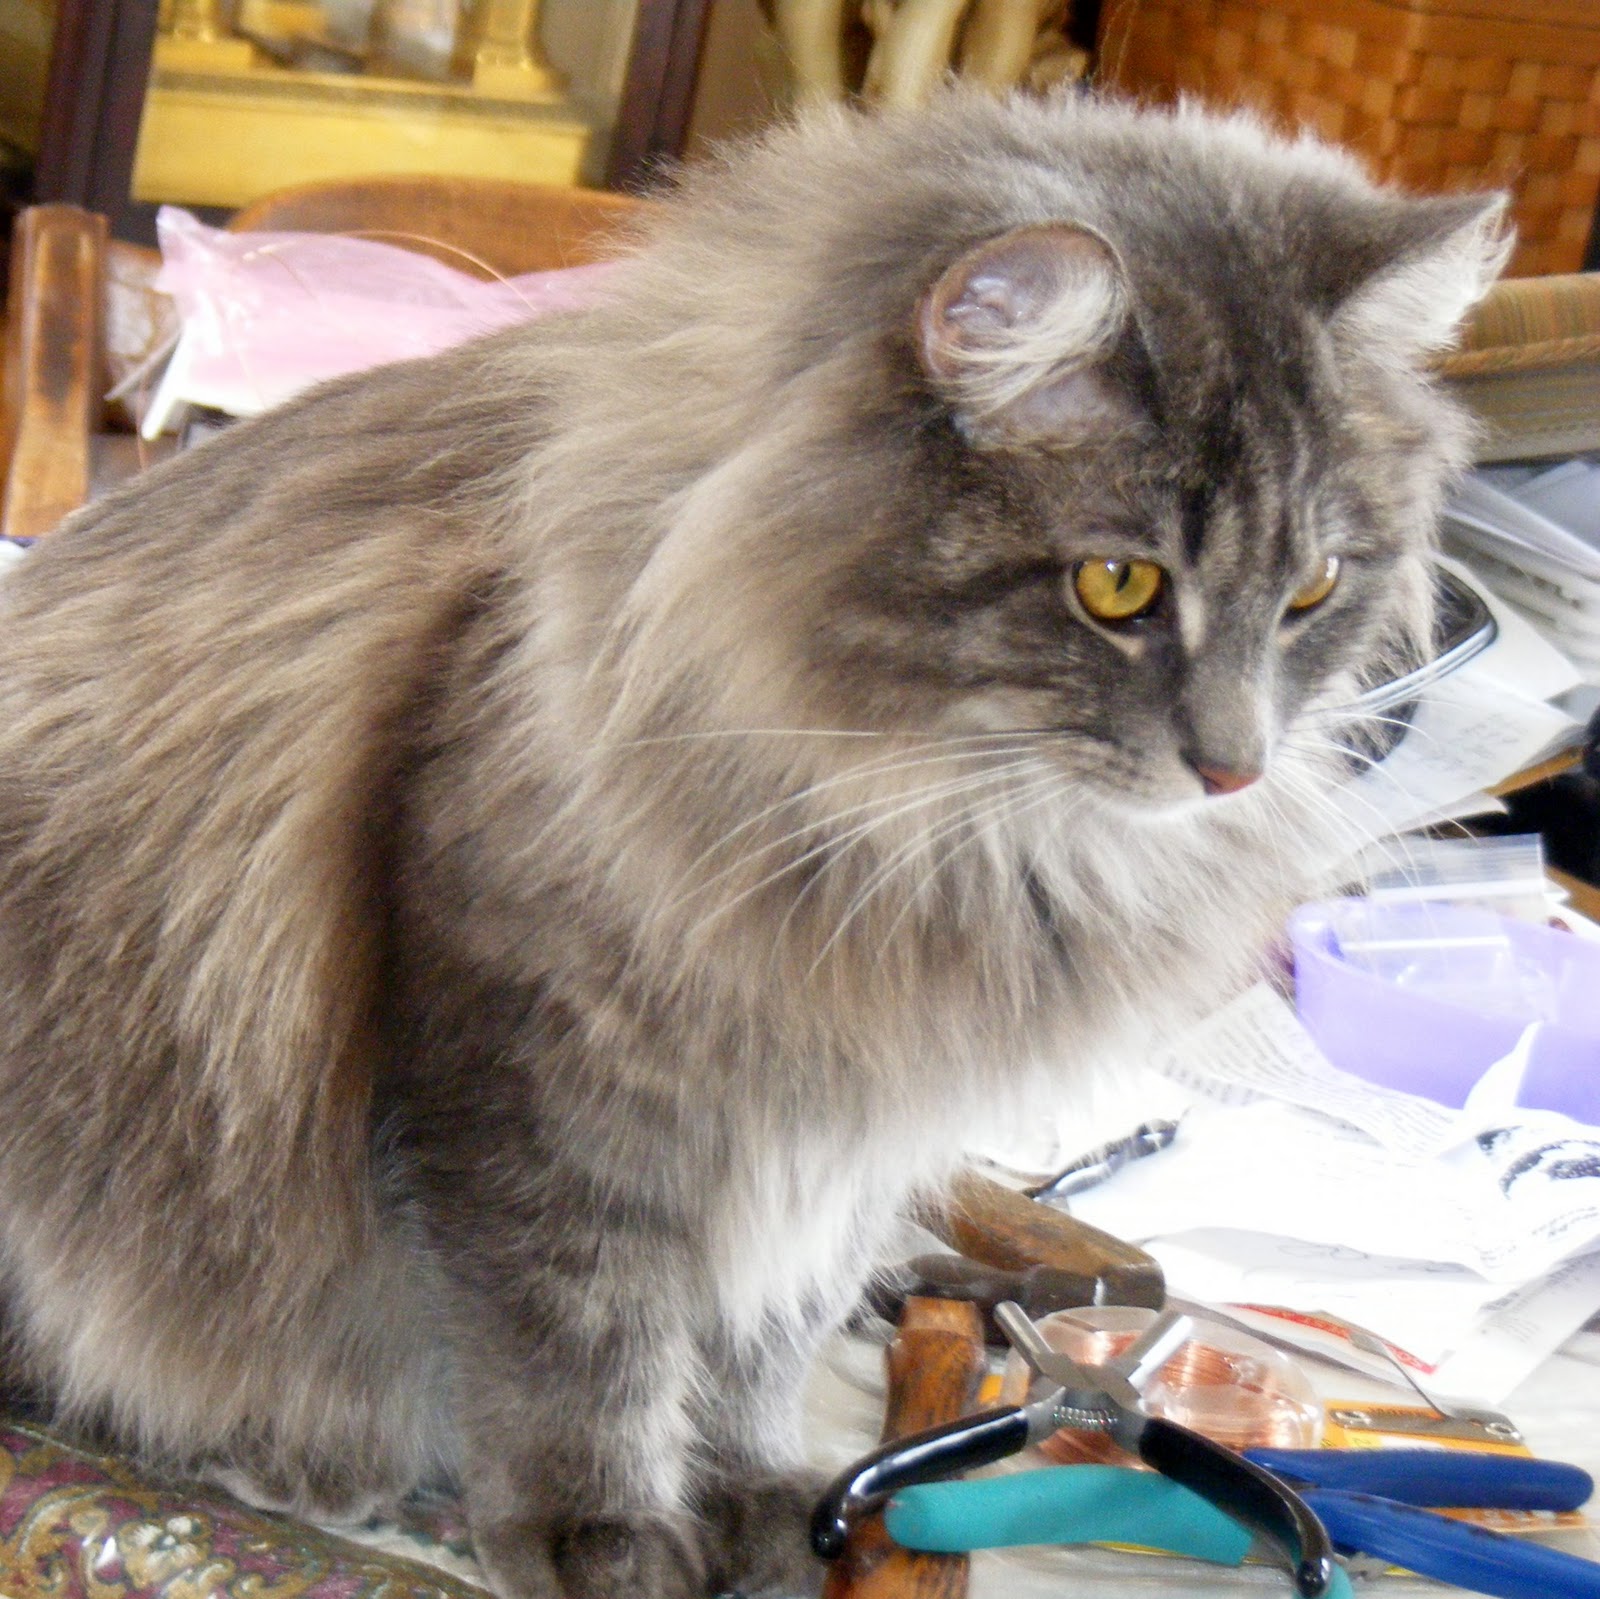
These are brand new pics of Sid and Mr. Misty!  Mr. Misty is one year old this spring and I believe Sid is about 14.  Sid tolerates Mr. Misty, but sometimes I catch them playing hide and seek.  Mr. Misty was assisting me at my jewelry table as I posted lots of new items on Artfire!   Hope you enjoy  the pics.  I guess I should also report that our pooch Lilly is also doing well and loves to play with  Misty.  They are like two blurs as they run around  the house!  Ahhh, all is well in pet land!  :)


Thursday, February 18, 2010

Jewelry Expressions by Anita is Up and Running

Ahhhh...success at last - I have my new name (JEWELRY EXPRESSIONS BY ANITA) and my Artfire site is in place. (For anyone new to this blog, it was previously named BeaDazzled by Anita, as was my Artfire site.)

I have listed some of my jewelry on Artfire today and will continue that process over the next few days. I do not have my Facebook page back up as I am awaiting a response from the Facebook team to see if they can get my page back up so I can rename it, or if I have to create a new page. It would be nice if I could get my old page back, but what will be, will be.

Thanks to those of you who helped me out with picking a new name. You gave me a lot to think about before choosing Jewelry Expressions by Anita. I will be in touch with you via e-mail in the next day or so to thank you personally.

Have a wonderful day!
Anita